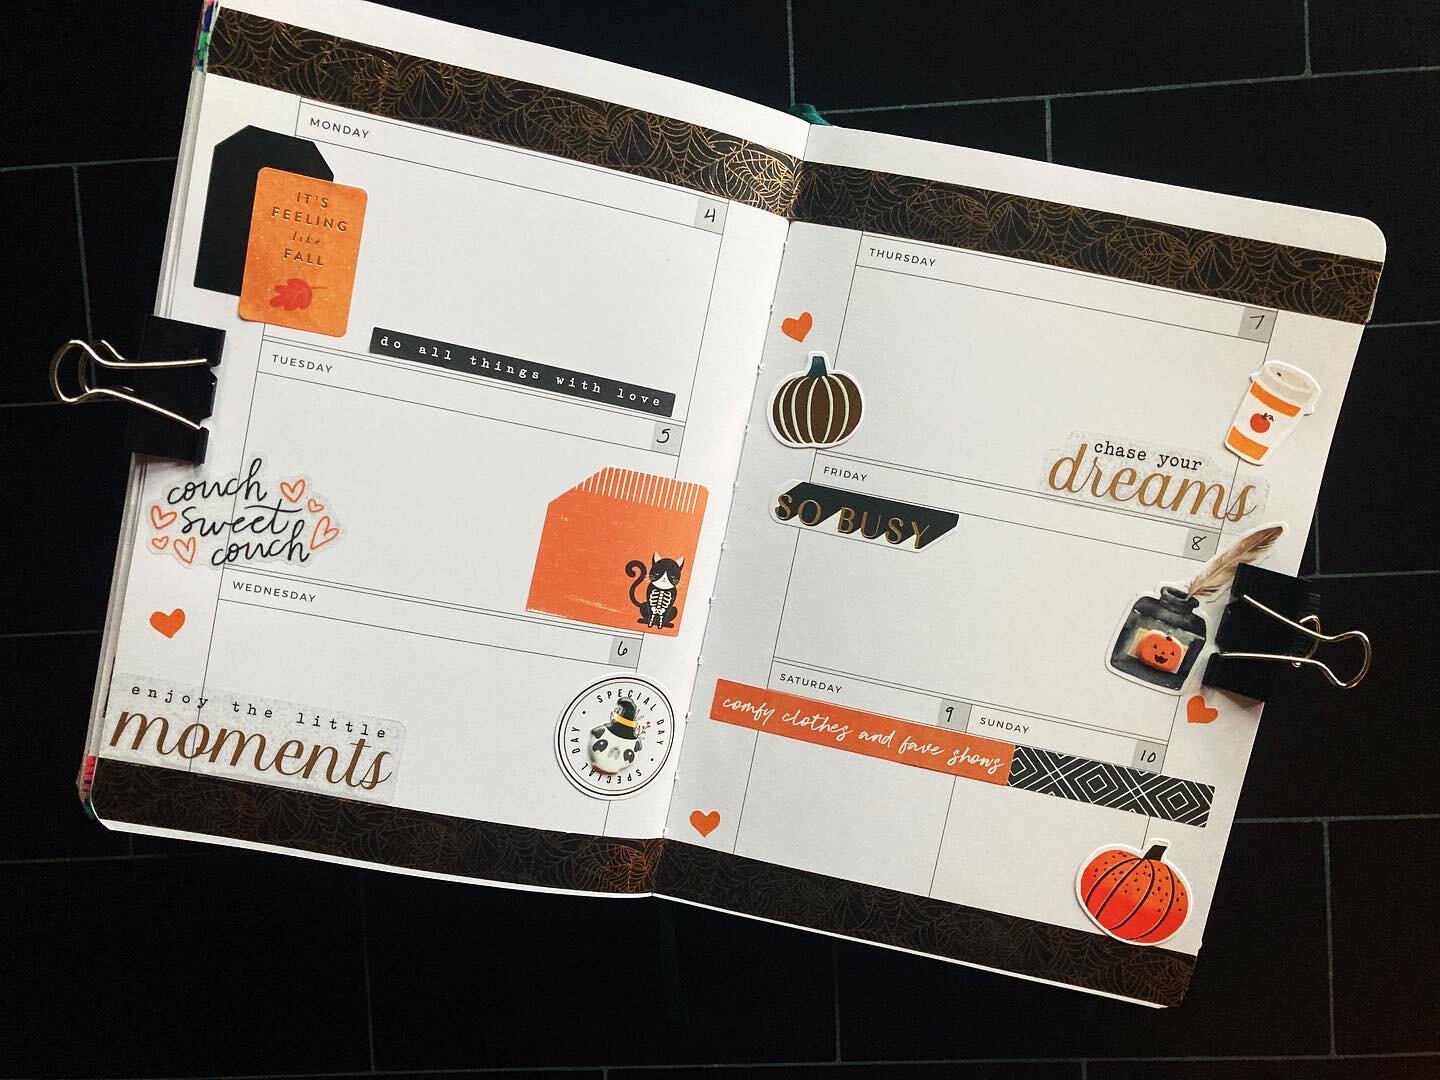
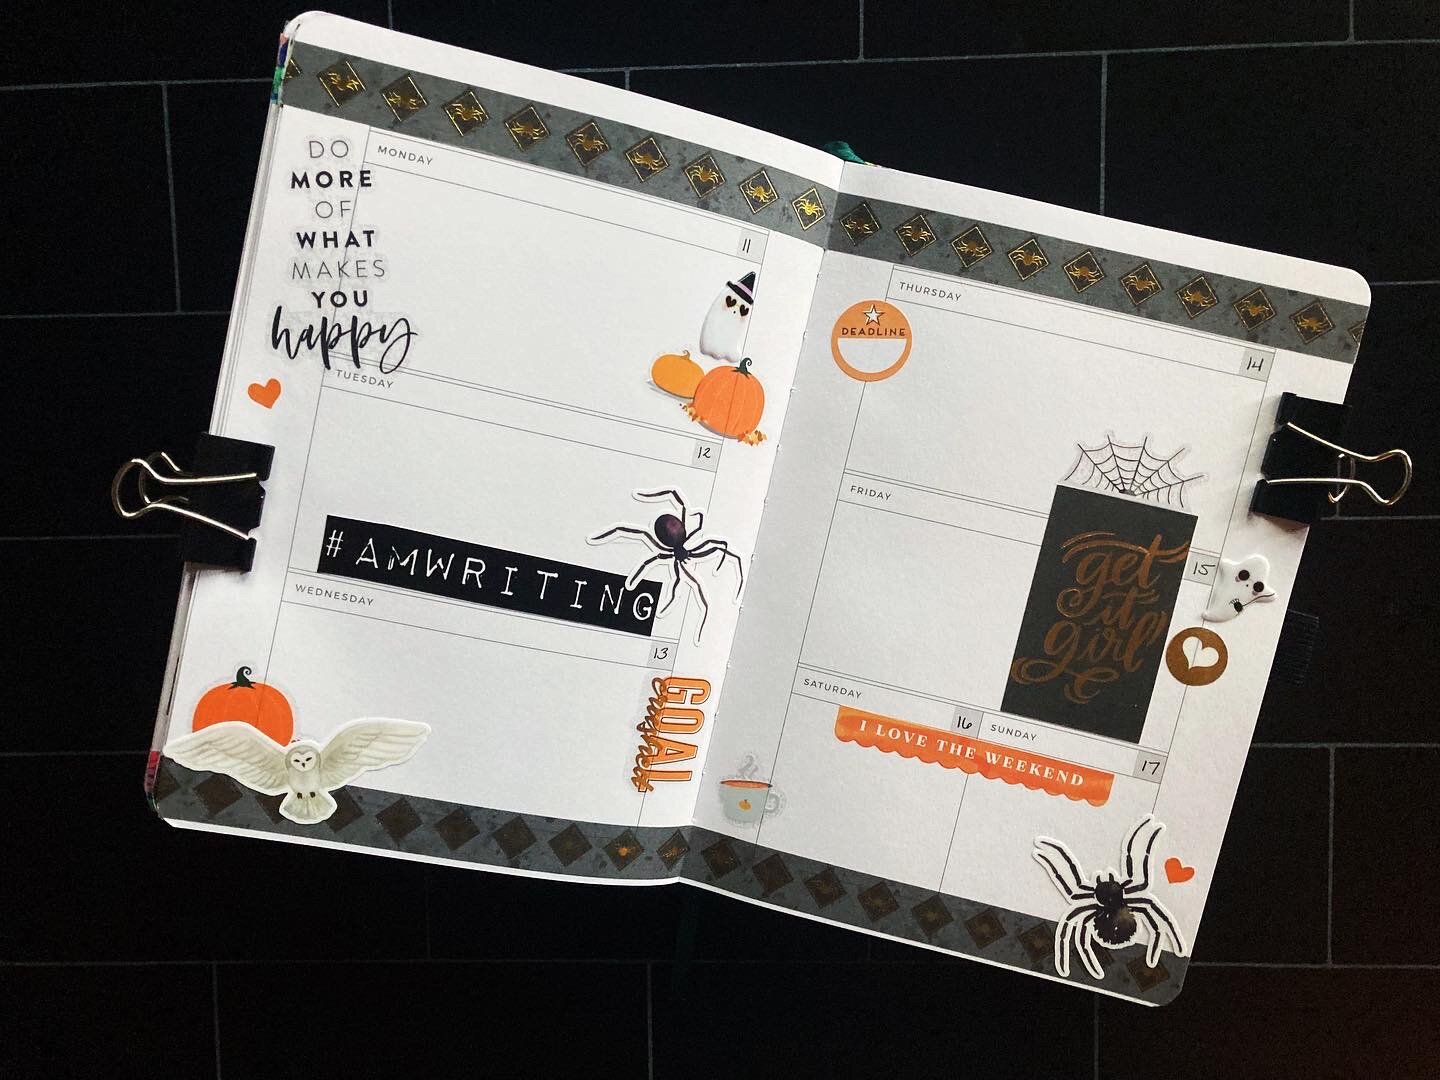
October is my favorite month and I absolutely love spooky season, which makes setting up my planner extra special. This is the third year in a row that I have used Archer & Olive’s Undated Planner. Though I am not using watercolors or paint pens, I do love the quality of paper and overall construction of this planner.
1.) Select pen color
The first thing I do is select the pen color to be used for the entire month. October was easy. I knew I would be utilizing spooky accents throughout the spread so I selected a black pen from my extensive collection. Fun fact, I only use Papermate Flair Tip Pens.
2.) Select Washi Tape
After I have my pen color, I go through my washi tape, choosing patterns that correlate to the monthly color. I always pull more than I need. During the last few months, it’s become a tradition that my mom selects the 6-7 washi tapes that will be used for the spread. This month was no different.
Once I have the tapes selected. I start with the monthly calendar page. I usually select a wider washi tape for both the monthly calendar page and the dotted grid page, which I use for memory keeping.
To make the application process as easy as possible, I use binder clips to hold down my pages. I do a rough size match against the page before making any cuts. And then you’ll see that I am applying horizontally to the top and bottom of this calendar page. I usually will make the tape just a smidge longer than necessary, so once both pieces of tape have been adhered, I go back and snip any access from the edges.
And then I repeat this process for each of the pages that month. At this point, the spread remains undated. I have made the mistake in the past of dating everything and then applying the washi tape over top of those details.
3.) Fill in Dates
Now that the washi tape has been applied, I go through and add all the dates to the monthly page. I also begin my week on Monday. This is actually one of the biggest reasons why I started using an undated planner. A big pet peeve of mine are weekly and monthly pages that begin on Sunday. I then go page by page, adding the dates.
Since each monthly spread offers ample pages, I do find that I often have an extra weekly page at the end. Since last month ended on October 3rd, I will be starting these new pages on the 4th. I will leave the last weekly pages blank, using them as a project page for the month.
Looking at my set-up, this is always the fastest part of the process. However, I do like to luxuriate in every step. Planning, after all, is self-care. Or at least it always has been for me.
4.) Select Stickers
Now begins the biggest fun throughout this set-up, which is selecting the stickers I will use. Over the years, I have grown my collection of stickers. And I am still so in love with this craft cabinet my parents gifted me for Christmas last year, as it keeps everything organized and still has room to spare.
5.) Sticker Placement
Usually, I do go page by page, but sometimes if I see a particular sticker that I think will work on a different page, I will add it then.
I do like to start with some of the bigger stickers and then fill in with smaller ones, usually hearts in a matching color or some other tiny detail.
Once the month is done, I move into the weeks, which allows for bigger stickers to be used. Often, I will choose stickers that correlate to an event. And when I feel a spread is done, I move on. I usually do this before a page feels too full. If I need to add a few stickers later, I will do so. But less tends to be more, and it is not difficult to go overboard.
Since I planned on using this last week as a project page, I took a thinner washi tape that has the coppery elements used in the first tape I applied, and covered the names of the week. I then added label stickers, though at this point, I wasn’t entirely sure what each section would be. However, getting close to the end, I did know I could use this to organize some dates and tasks for The Elpis Pages as I move into the next steps of that project.
The last page will be the monthly memory keeping spread. This will remain empty until the end of October, but I am planning on doing a September wrap-up soon where I walk you through this process.
6.) Spot Check
After all pages have been filled in, I go back and do a final check to see if any spaces need to be filled. This is usually the point I have my mom look through to see if there are any gaps that need to be filled in.
7.) Add Important Info
I start with the monthly calendar, adding bills due or important events that I already have scheduled. I fill in my goals for the month next, usually trying to account for what I accomplished the month before. I also try to keep these realistic. As a goal-oriented perfectionist, my old ways of goal setting was especially harmful to my mental health and I have since worked on making more manageable goals for myself.
I also add a quote for the month. Usually, this becomes a sort of mantra that I return to on the difficult days to keep myself grounded.
Next, I go week by week and add bills due, important events, and any days off I will be taking from work. It’s become a running joke since 2020 that I write in “work from home” every day. But in 10 years, I think it will be nice to see how long this continued.
8.) Add Tasks
Once these important items have been written in, I can add tasks that need to be completed that week. If I have a day where something important or noteworthy happens, I also use this space for memory keeping, but I’ll go into that during my September wrap-up.
For the final spread for October. I absolutely love the pops of color throughout and I’m even more excited for this spooky season. I can’t wait to see what October has in store for me!
Don’t forget to like and subscribe. And remember, no matter where the day takes you, dream big!


